-
 Afrikaans
 -
 Albanian
 -
 Amharic
 -
 Arabic
 -
 Armenian
 -
 Azerbaijani
 -
 Basque
 -
 Belarusian
 -
 Bengali
 -
 Bosnian
 -
 Bulgarian
 -
 Catalan
 -
 Cebuano
 -
 Corsican
 -
 Croatian
 -
 Czech
Czech -
 Danish
 -
 Dutch
Dutch -
 English
 -
 Esperanto
 -
 Estonian
 -
 Finnish
 -
 French
 -
 Frisian
 -
 Galician
 -
 Georgian
 -
 German
 -
 Greek
Greek -
 Gujarati
 -
 Haitian Creole
 -
 hausa
hausa -
 hawaiian
 -
 Hebrew
 -
 Hindi
Hindi -
 Miao
Miao -
 Hungarian
 -
 Icelandic
 -
 igbo
igbo -
 Indonesian
 -
 irish
irish -
 Italian
 -
 Japanese
 -
 Javanese
 -
 Kannada
 -
 kazakh
 -
 Khmer
Khmer -
 Rwandese
 -
 Korean
 -
 Kurdish
 -
 Kyrgyz
 -
 Lao
Lao -
 Latin
Latin -
 Latvian
 -
 Lithuanian
 -
 Luxembourgish
 -
 Macedonian
 -
 Malgashi
 -
 Malay
Malay -
 Malayalam
 -
 Maltese
 -
 Maori
Maori -
 Marathi
 -
 Mongolian
 -
 Myanmar
 -
 Nepali
 -
 Norwegian
 -
 Norwegian
 -
 Occitan
 -
 Pashto
 -
 Persian
 -
 Polish
 -
 Portuguese
 -
 Punjabi
 -
 Romanian
 -
 Russian
 -
 Samoan
 -
 Scottish Gaelic
 -
 Serbian
 -
 Sesotho
 -
 Shona
Shona -
 Sindhi
 -
 Sinhala
 -
 Slovak
 -
 Slovenian
 -
 Somali
 -
 Spanish
 -
 Sundanese
 -
 Swahili
 -
 Swedish
 -
 Tagalog
 -
 Tajik
Tajik -
 Tamil
Tamil -
 Tatar
Tatar -
 Telugu
 -
 Thai
Thai -
 Turkish
 -
 Turkmen
 -
 Ukrainian
 -
 Urdu
Urdu -
 Uighur
 -
 Uzbek
Uzbek -
 Vietnamese
 -
 Welsh
Welsh -
 Bantu
Bantu -
 Yiddish
 -
 Yoruba
 -
 Zulu
Zulu
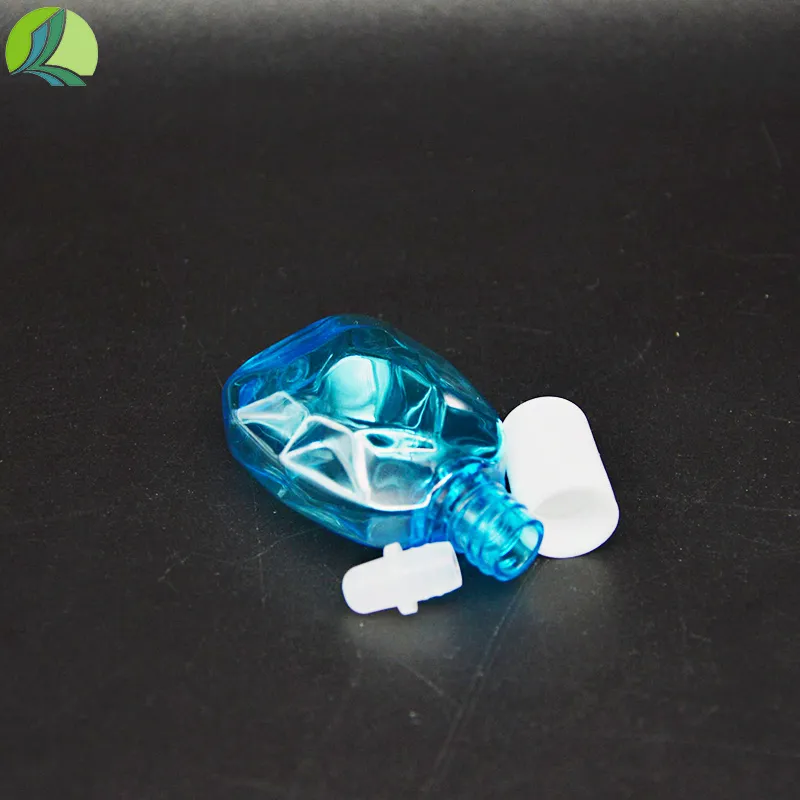
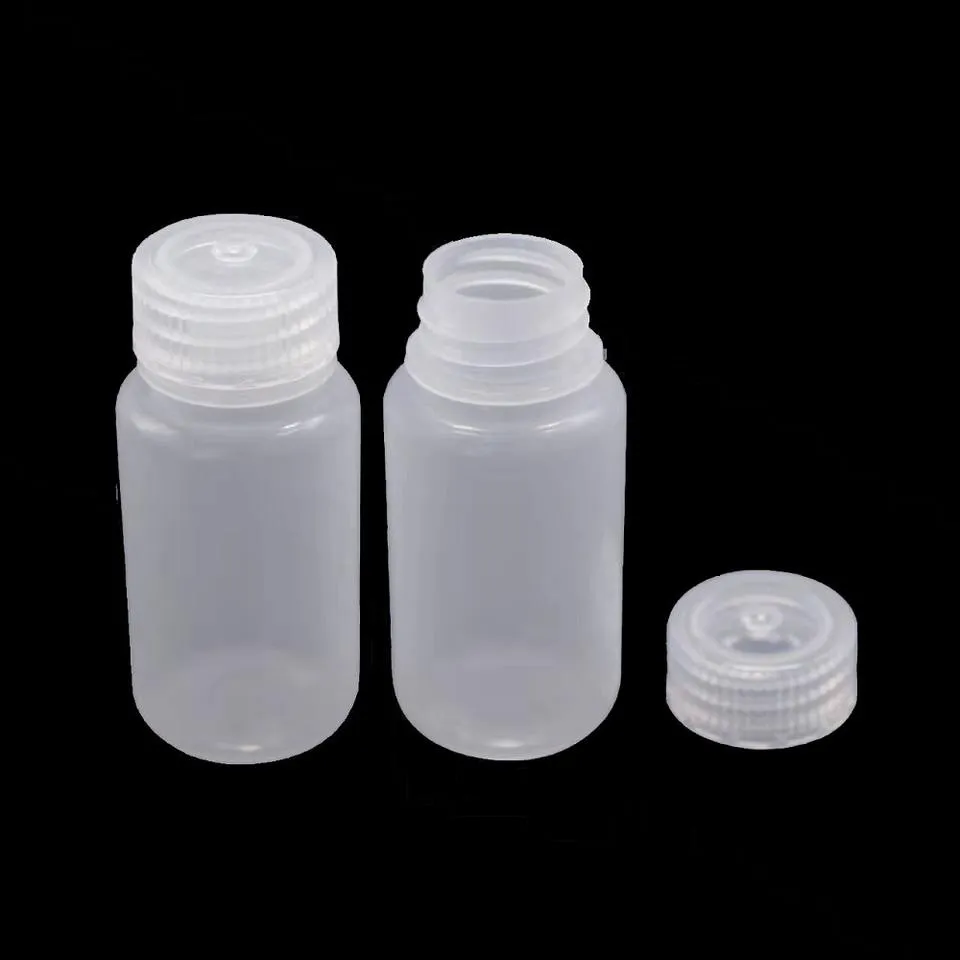
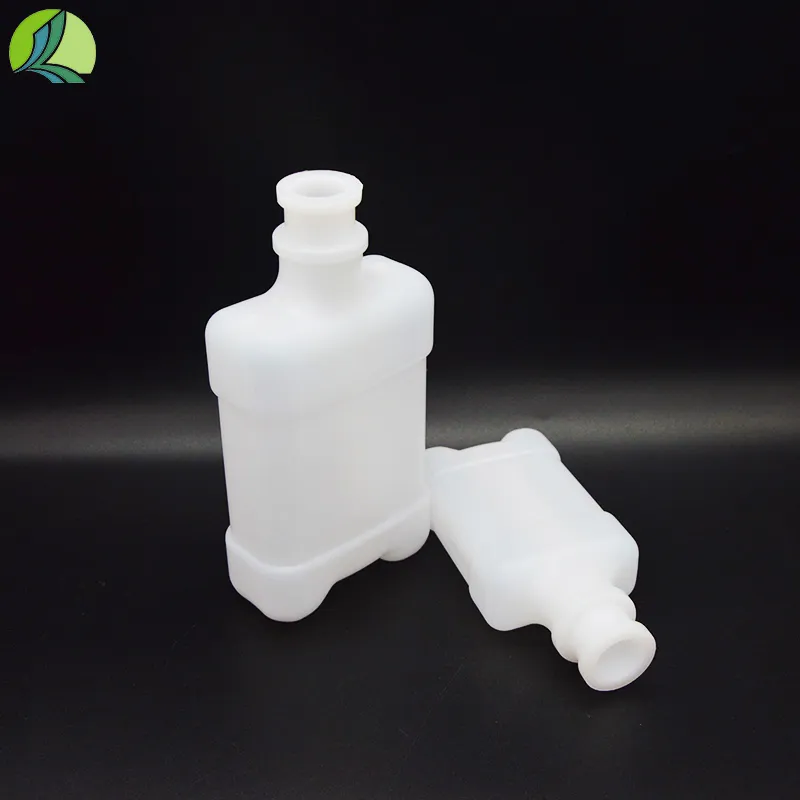
how to sterilize plastic eye dropper bottles
How to Sterilize Plastic Eye Dropper Bottles
Plastic eye dropper bottles are commonly used for administering liquid medications, including eye drops, nasal sprays, and other treatments. Given the delicate nature of medications and the sensitive areas they are applied to, ensuring that these bottles are properly sterilized is crucial to prevent contamination and maintain safety. This article will outline effective methods for sterilizing plastic eye dropper bottles, ensuring they are hygienic and safe for use.
Importance of Sterilization
Sterilizing eye dropper bottles helps eliminate bacteria, viruses, and other pathogens that could cause infections or adverse reactions. Contaminated bottles can introduce harmful microorganisms into the body, especially with products used in or around the eyes, nose, or mouth. Regular sterilization not only protects health but also extends the lifespan of the bottle, allowing it to be reused safely.
1. Materials Needed
Before you begin the sterilization process, gather the following materials - Plastic eye dropper bottles - Distilled water - Mild dish soap - Rubbing alcohol or hydrogen peroxide - A clean towel or drying rack - A saucepan or pot (for boiling) - Optional A microwave-safe container (if using microwave sterilization)
2. Basic Cleaning Steps
1. Preparation Before sterilization, remove any remaining liquid from the bottles. Rinse them thoroughly with warm water to remove any residues.
2. Washing Use a mixture of mild dish soap and warm water to wash the inside and outside of the bottles. A soft brush can help reach areas where grime may accumulate. Rinse well under running water to ensure that all soap residue is removed.
3. Sterilization Methods
Here are three effective methods for sterilizing plastic eye dropper bottles
how to sterilize plastic eye dropper bottles
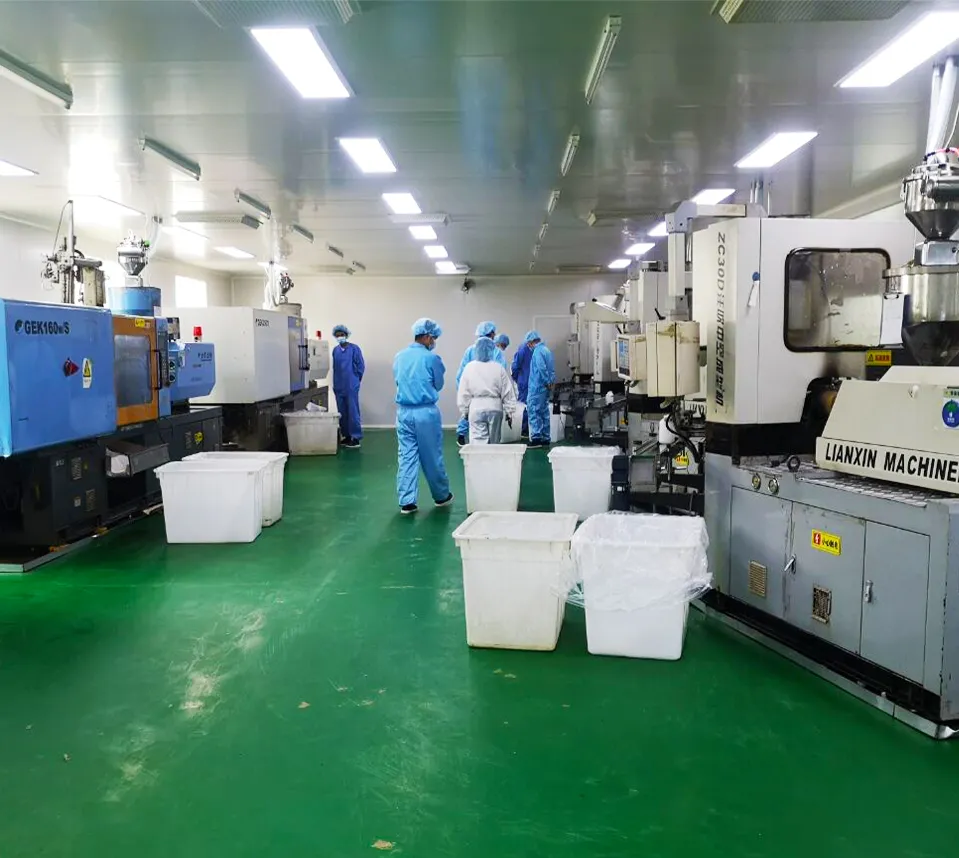
A. Boiling Method
1. Boil Water Fill a saucepan with enough distilled water to fully submerge the bottles. 2. Heat Bring the water to a rolling boil. 3. Sterilize Carefully place the washed bottles into the boiling water. Ensure they are completely submerged and let them boil for at least 5 minutes. 4. Cool and Dry After boiling, remove the bottles using tongs and place them on a clean towel or drying rack to cool completely.
B. Rubbing Alcohol Method
1. Prepare Pour rubbing alcohol (at least 70% isopropyl alcohol) into a clean container. 2. Soak Submerge the cleaned bottles in the alcohol for 10-15 minutes. 3. Rinse After soaking, rinse the bottles thoroughly with distilled water to remove any alcohol residue. 4. Dry Place the bottles on a clean towel to air dry fully.
C. Microwave Sterilization
1. Fill the Bottle Fill the cleaned dropper bottle with distilled water, leaving a little space to prevent spillage. 2. Cover Secure a microwave-safe lid or plastic wrap over the opening of the bottle to avoid splattering. 3. Microwave Heat the filled bottle in the microwave for about 2-3 minutes, depending on the wattage of your microwave. The water should reach a boiling point as steam will help with the sterilization process. 4. Carefully Remove Allow it to cool before carefully removing the bottle, as it will be hot.
4. Storage
After sterilization, ensure that your eye dropper bottles are stored in a clean, dry place. Keep them covered to prevent any contamination. If possible, avoid touching the inside of the bottle or dropper tip with your hands or any unsterilized surface.
Conclusion
Sterilizing plastic eye dropper bottles is an important practice to ensure safety and efficacy in administering various liquid medications. By following the outlined methods, you can effectively reduce the risk of contamination and prolong the life of your eye dropper bottles. Regular maintenance and proper sterilization keep your health in check and allow for safe and reliable usage of necessary treatments. Always consult the manufacturer’s recommendations for specific products, as some may have unique sterilization requirements.
-
Premium Metal Dropper Bottle for Precise Dispensing 250ml & 1ml Options AvailableNewsJul.04,2025
-
20 ml Headspace Vials - High Quality Polyethylene & Plastic Vials for Lab UseNewsJul.04,2025
-
Small Bottle with Pipette - Precise Dispensing 100ml Pipette Bottles for Essential Oils & Lab UseNewsJun.24,2025
-
Acetic Anhydride Bottle for Accurate Dropper Measurement in Pharmacy Use High-Quality Dropper BottlesNewsJun.10,2025
-
Innovative PET Bottle Design for Juice – Unique Shapes & Customization OptionsNewsJun.10,2025
-
20 Pack Sterilized Petri Dishes – Assorted Sizes, High Quality Small Plastic Petri Dishes for Lab UseNewsJun.10,2025


