-
 Afrikaans
 -
 Albanian
 -
 Amharic
 -
 Arabic
 -
 Armenian
 -
 Azerbaijani
 -
 Basque
 -
 Belarusian
 -
 Bengali
 -
 Bosnian
 -
 Bulgarian
 -
 Catalan
 -
 Cebuano
 -
 Corsican
 -
 Croatian
 -
 Czech
Czech -
 Danish
 -
 Dutch
Dutch -
 English
 -
 Esperanto
 -
 Estonian
 -
 Finnish
 -
 French
 -
 Frisian
 -
 Galician
 -
 Georgian
 -
 German
 -
 Greek
Greek -
 Gujarati
 -
 Haitian Creole
 -
 hausa
hausa -
 hawaiian
 -
 Hebrew
 -
 Hindi
Hindi -
 Miao
Miao -
 Hungarian
 -
 Icelandic
 -
 igbo
igbo -
 Indonesian
 -
 irish
irish -
 Italian
 -
 Japanese
 -
 Javanese
 -
 Kannada
 -
 kazakh
 -
 Khmer
Khmer -
 Rwandese
 -
 Korean
 -
 Kurdish
 -
 Kyrgyz
 -
 Lao
Lao -
 Latin
Latin -
 Latvian
 -
 Lithuanian
 -
 Luxembourgish
 -
 Macedonian
 -
 Malgashi
 -
 Malay
Malay -
 Malayalam
 -
 Maltese
 -
 Maori
Maori -
 Marathi
 -
 Mongolian
 -
 Myanmar
 -
 Nepali
 -
 Norwegian
 -
 Norwegian
 -
 Occitan
 -
 Pashto
 -
 Persian
 -
 Polish
 -
 Portuguese
 -
 Punjabi
 -
 Romanian
 -
 Russian
 -
 Samoan
 -
 Scottish Gaelic
 -
 Serbian
 -
 Sesotho
 -
 Shona
Shona -
 Sindhi
 -
 Sinhala
 -
 Slovak
 -
 Slovenian
 -
 Somali
 -
 Spanish
 -
 Sundanese
 -
 Swahili
 -
 Swedish
 -
 Tagalog
 -
 Tajik
Tajik -
 Tamil
Tamil -
 Tatar
Tatar -
 Telugu
 -
 Thai
Thai -
 Turkish
 -
 Turkmen
 -
 Ukrainian
 -
 Urdu
Urdu -
 Uighur
 -
 Uzbek
Uzbek -
 Vietnamese
 -
 Welsh
Welsh -
 Bantu
Bantu -
 Yiddish
 -
 Yoruba
 -
 Zulu
Zulu
Sample Collection Procedures for ESR Testing in Clinical Settings
Understanding ESR Sample Collection A Comprehensive Overview
Erythrocyte Sedimentation Rate (ESR) is a blood test that measures the rate at which red blood cells settle in a vertical tube over a specified period, usually one hour. The ESR is a non-specific marker of inflammation and can help diagnose various medical conditions, including infections, inflammatory diseases, and certain types of cancer. The accuracy and reliability of the ESR test largely depend on proper sample collection and handling.
Importance of Proper Sample Collection
The correct procedure for ESR sample collection is crucial for obtaining valid results. Improper collection or handling can lead to erroneous findings, which may misguide diagnosis and treatment. Therefore, healthcare professionals must be well-versed in the steps involved in this process.
Required Materials
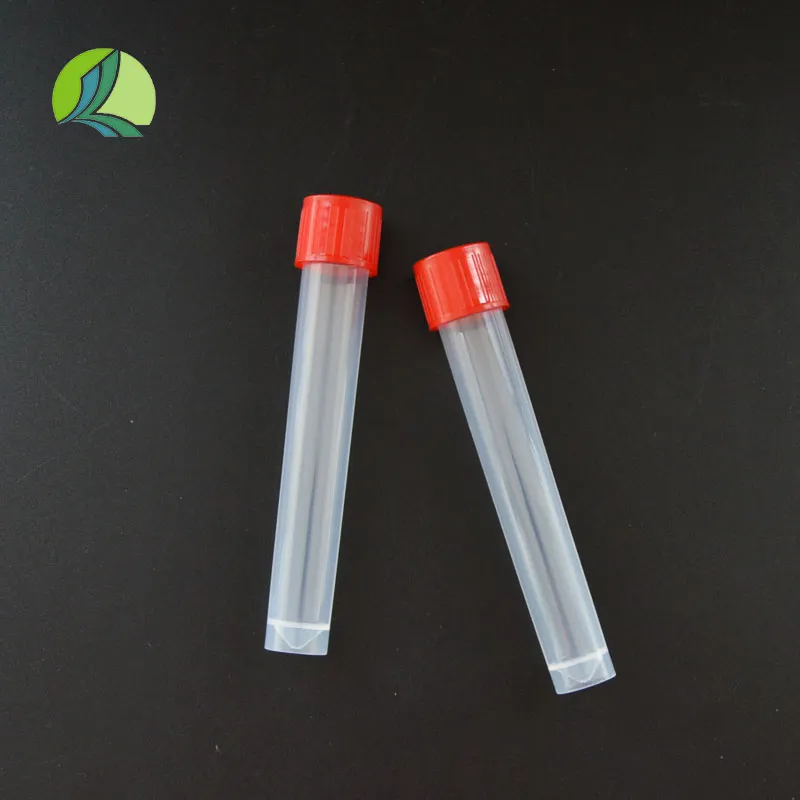
To collect an appropriate sample for the ESR test, several materials are essential 1. Venipuncture Kit This includes sterile needles, collection tubes, and tourniquets. 2. Anticoagulant Tubes Usually, tubes containing EDTA or sodium citrate are used to prevent blood clotting. 3. Labeling Materials Proper labeling of samples is crucial for tracking and identification. 4. Personal Protective Equipment (PPE) Gloves, masks, and aprons should be worn to protect both patients and healthcare workers.
Steps for Sample Collection
1. Preparation Explain the procedure to the patient to ensure understanding and cooperation. Gather all required materials and ensure they are sterilized and intact.
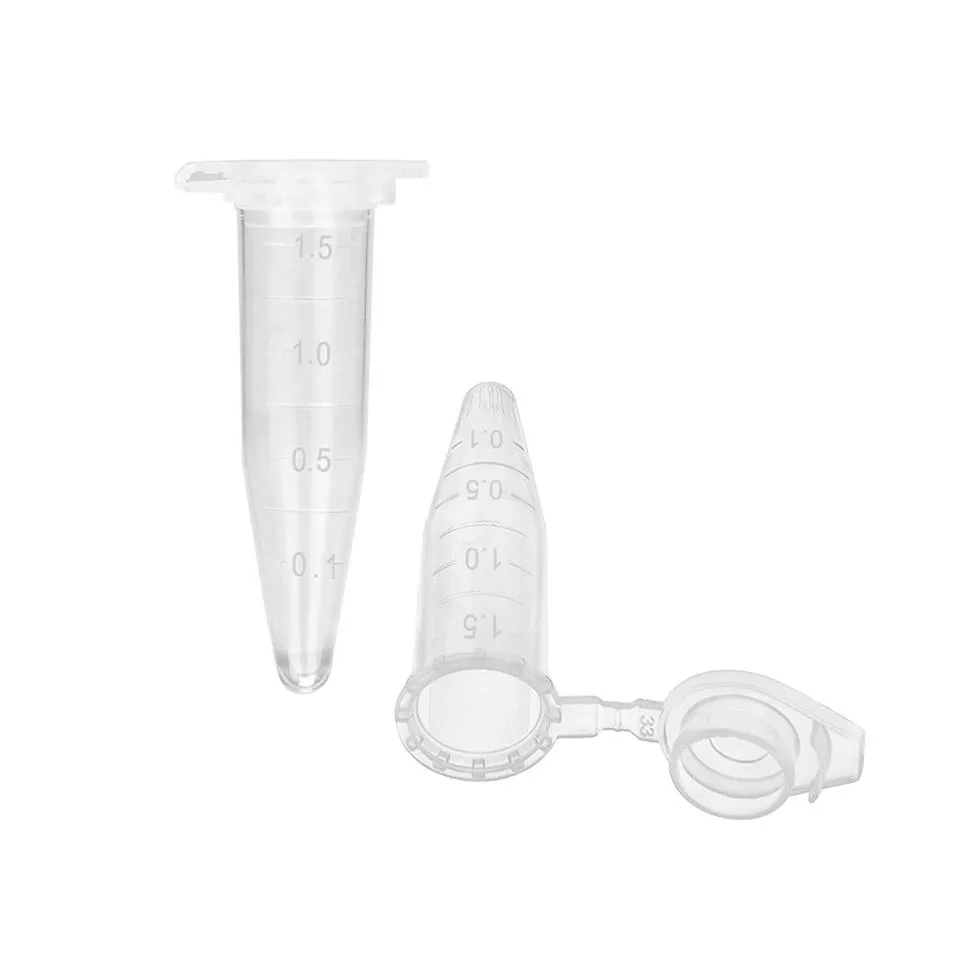
esr sample collection
2. Site Selection and Preparation The preferred site for venipuncture is the antecubital fossa (the inside of the elbow). Clean the area with an antiseptic wipe, allowing it to dry to minimize discomfort and prevent contamination.
3. Venipuncture Apply a tourniquet above the selected site to engorge the vein. Insert the needle at a 15-30 degree angle, with the bevel facing upward. Once blood is drawn, remove the tourniquet before pulling out the needle to minimize bruising.
4. Sample Collection Fill the anticoagulant tube until the appropriate level is reached. Gently invert the tube several times to mix the blood with the anticoagulant, preventing clot formation.
5. Post-Collection Care Apply pressure to the puncture site with a cotton ball or gauze. Dispose of the needle and other materials in appropriate biohazard containers. Finally, label the tube with the patient's details, date, and time of collection.
Handling and Transport
Once the sample is collected, it is vital to handle it correctly. Keep the samples upright and avoid any unnecessary shaking, as this can lead to hemolysis, affecting the results. Samples should be transported to the laboratory promptly, ideally within 2 hours. If there is a delay, samples should be stored at a temperature between 2°C to 8°C to preserve their integrity for testing.
Conclusion
In summary, the ESR sample collection process is a critical step in facilitating accurate diagnostic testing. Proper preparation, execution, and handling of the samples are paramount to ensure reliable results. Healthcare practitioners must adhere to established protocols and stay updated with best practices, fostering an optimal environment for patient care and effective disease management. Understanding these fundamental principles not only enhances the quality of care provided to patients but also contributes to the broader healthcare system's efficacy.
-
Premium Metal Dropper Bottle for Precise Dispensing 250ml & 1ml Options AvailableNewsJul.04,2025
-
20 ml Headspace Vials - High Quality Polyethylene & Plastic Vials for Lab UseNewsJul.04,2025
-
Small Bottle with Pipette - Precise Dispensing 100ml Pipette Bottles for Essential Oils & Lab UseNewsJun.24,2025
-
Acetic Anhydride Bottle for Accurate Dropper Measurement in Pharmacy Use High-Quality Dropper BottlesNewsJun.10,2025
-
Innovative PET Bottle Design for Juice – Unique Shapes & Customization OptionsNewsJun.10,2025
-
20 Pack Sterilized Petri Dishes – Assorted Sizes, High Quality Small Plastic Petri Dishes for Lab UseNewsJun.10,2025


